Building a Data-Driven UI System from Scratch
Overview
For my GAM200/250 classes at DigiPen, my team of five built a complete game engine in C++ from scratch, then shipped a game with it. Every system had to be written by us. That included the UI.
I owned the UI system end to end: the rendering, the layout algorithm, the widget library, the input handling, and the tooling for designers to actually use it. This writeup is about the decisions I made building it and why.
The Core Idea: Data-Driven Retained Mode
The two big questions when starting a UI system are: retained or immediate mode, and how do designers edit it?
Retained mode means the UI state lives as objects in memory that you update and render each frame, as opposed to immediate mode (like Dear ImGui) where you rebuild the entire UI description every frame. For a game menu system where screens are discrete and state changes infrequently retained mode is a natural fit. You load a menu once, it sits in memory, and you update individual fields when something changes.
Data-driven means menus are defined in JSON files, not C++. A designer can add a button, change a label, or reorder elements without touching code or recompiling.
{
"type": "container",
"direction": "vertical",
"padding": 0.02,
"gap": 0.01,
"children": [
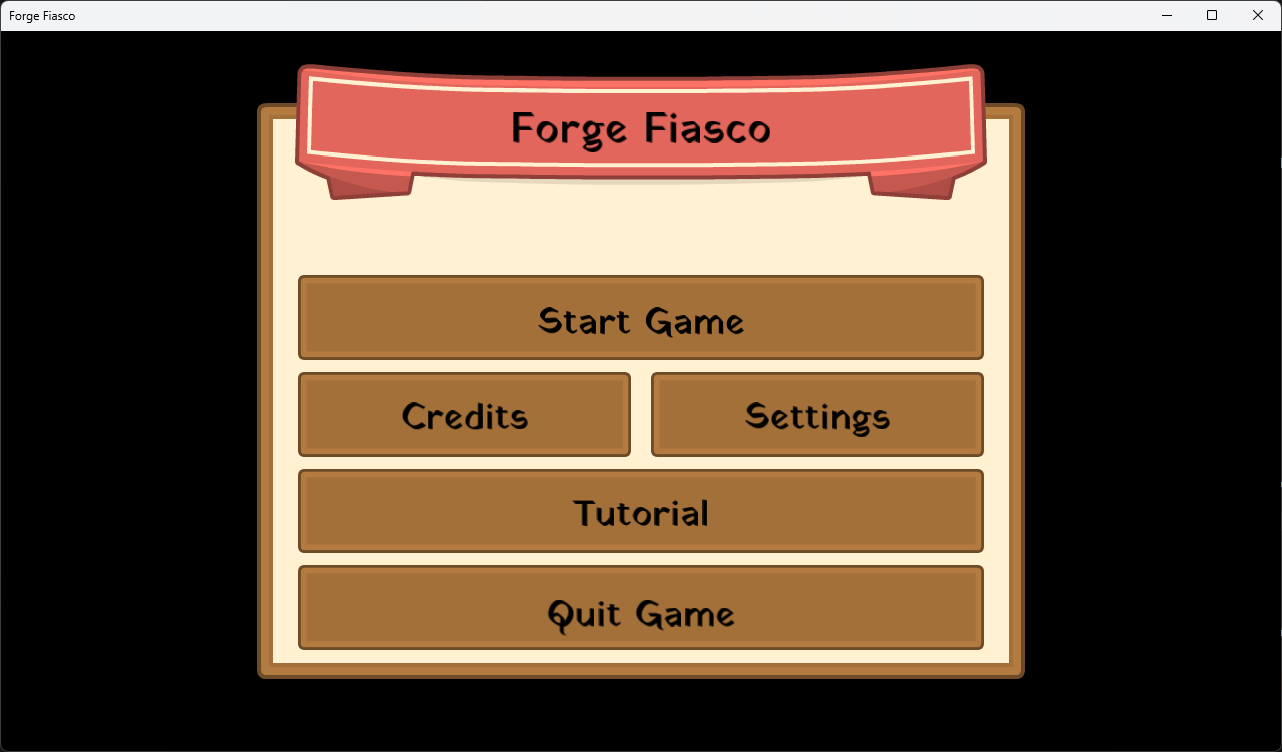
{ "type": "text", "text": "Forge Fiasco", "size": 0.08 },
{ "type": "button", "text": "Start Game", "span": 2, "click_event": [{ "name": "start_game" }], "close_menu": true },
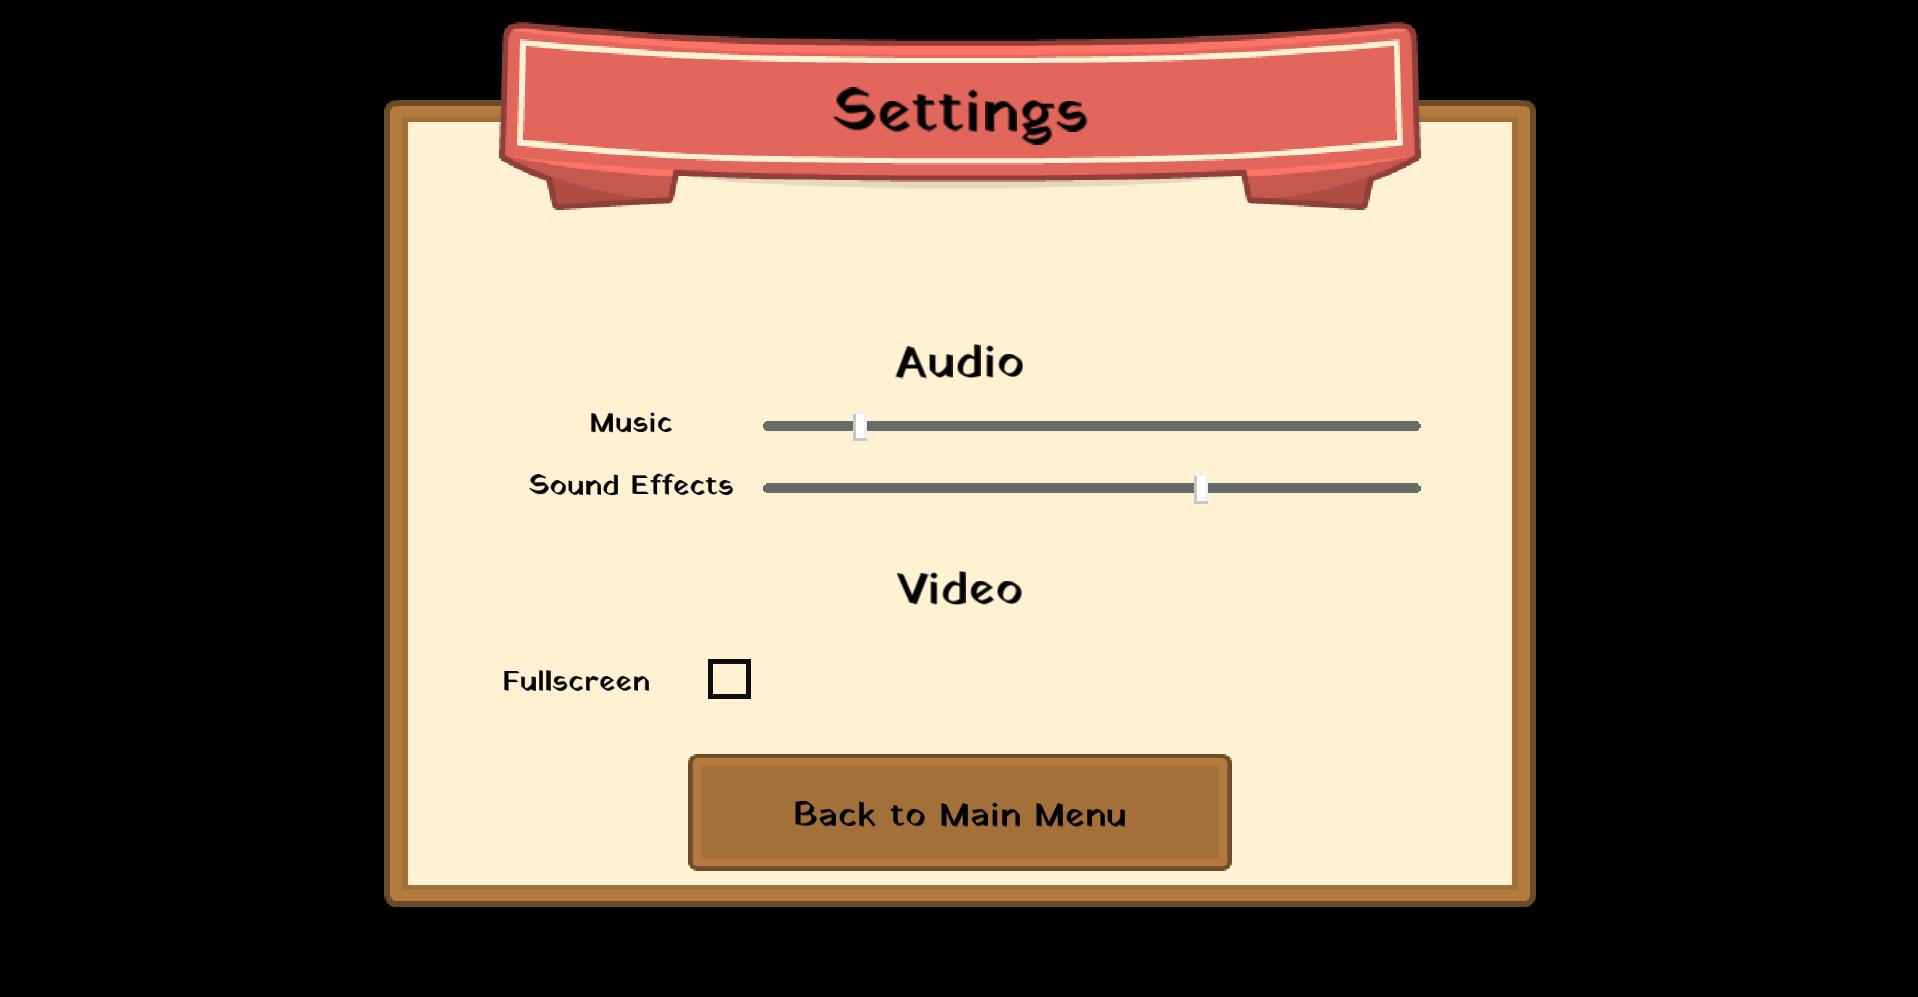
{ "type": "button", "text": "Settings", "span": 2, "click_event": [{ "name": "open_menu", "data": "settings" }], "close_menu": true },
{ "type": "button", "text": "Quit", "span": 1, "click_event": [{ "name": "quit_game" }] }
]
}At startup, UISystem walks the assets/json/menus/ directory, parses every file, and constructs the widget tree. Opening a menu at runtime is just making one in memory tree visible.
The Widget Library
All widgets inherit from IMenuChild, a base class that has position, size, span, and the bounding box used for hit testing. Nine component types cover everything the game needed:
| Widget | What it does |
|---|---|
Container |
Groups children, owns layout direction, padding, gap, and background |
Button |
Three visual states - default, hovered, held, fires an event on release |
Text |
Static label with font size, color, and 9-point alignment (top/mid/bot × left/center/right) |
Image |
Texture display with optional sprite sheet animation |
Slider |
Draggable range input with min, max, and step |
Checkbox |
Boolean toggle |
Dropdown |
Single-select from a list of labeled options |
Progress |
Read-only fill bar (health, loading, etc.) |
Spacer |
Invisible gap filler for layout control |
Every visual widget renders using nine-slice textures, a technique that divides a texture into a 3×3 grid so corners stay fixed while the center and edges stretch. This means one button texture works at any size without distortion.
The Layout Algorithm
The layout system works like a simplified flexbox. Containers have a direction (horizontal or vertical), padding (space from the container edge to its children), and gap (space between siblings). Children have a span a unitless integer representing how much of the parent's space they claim relative to their siblings.
The algorithm runs in IMenuChild::CalculateTransform():
- Sum all children's spans to get
totalSpan - Compute the space available after padding and gaps:
available = parentSize - padding * 2 - gap * (childCount - 1) - Each child gets
(available / totalSpan) * childSpanin the layout axis - In the cross axis, children fill the parent (minus padding)
- Accumulate position sequentially, adding gap between each child
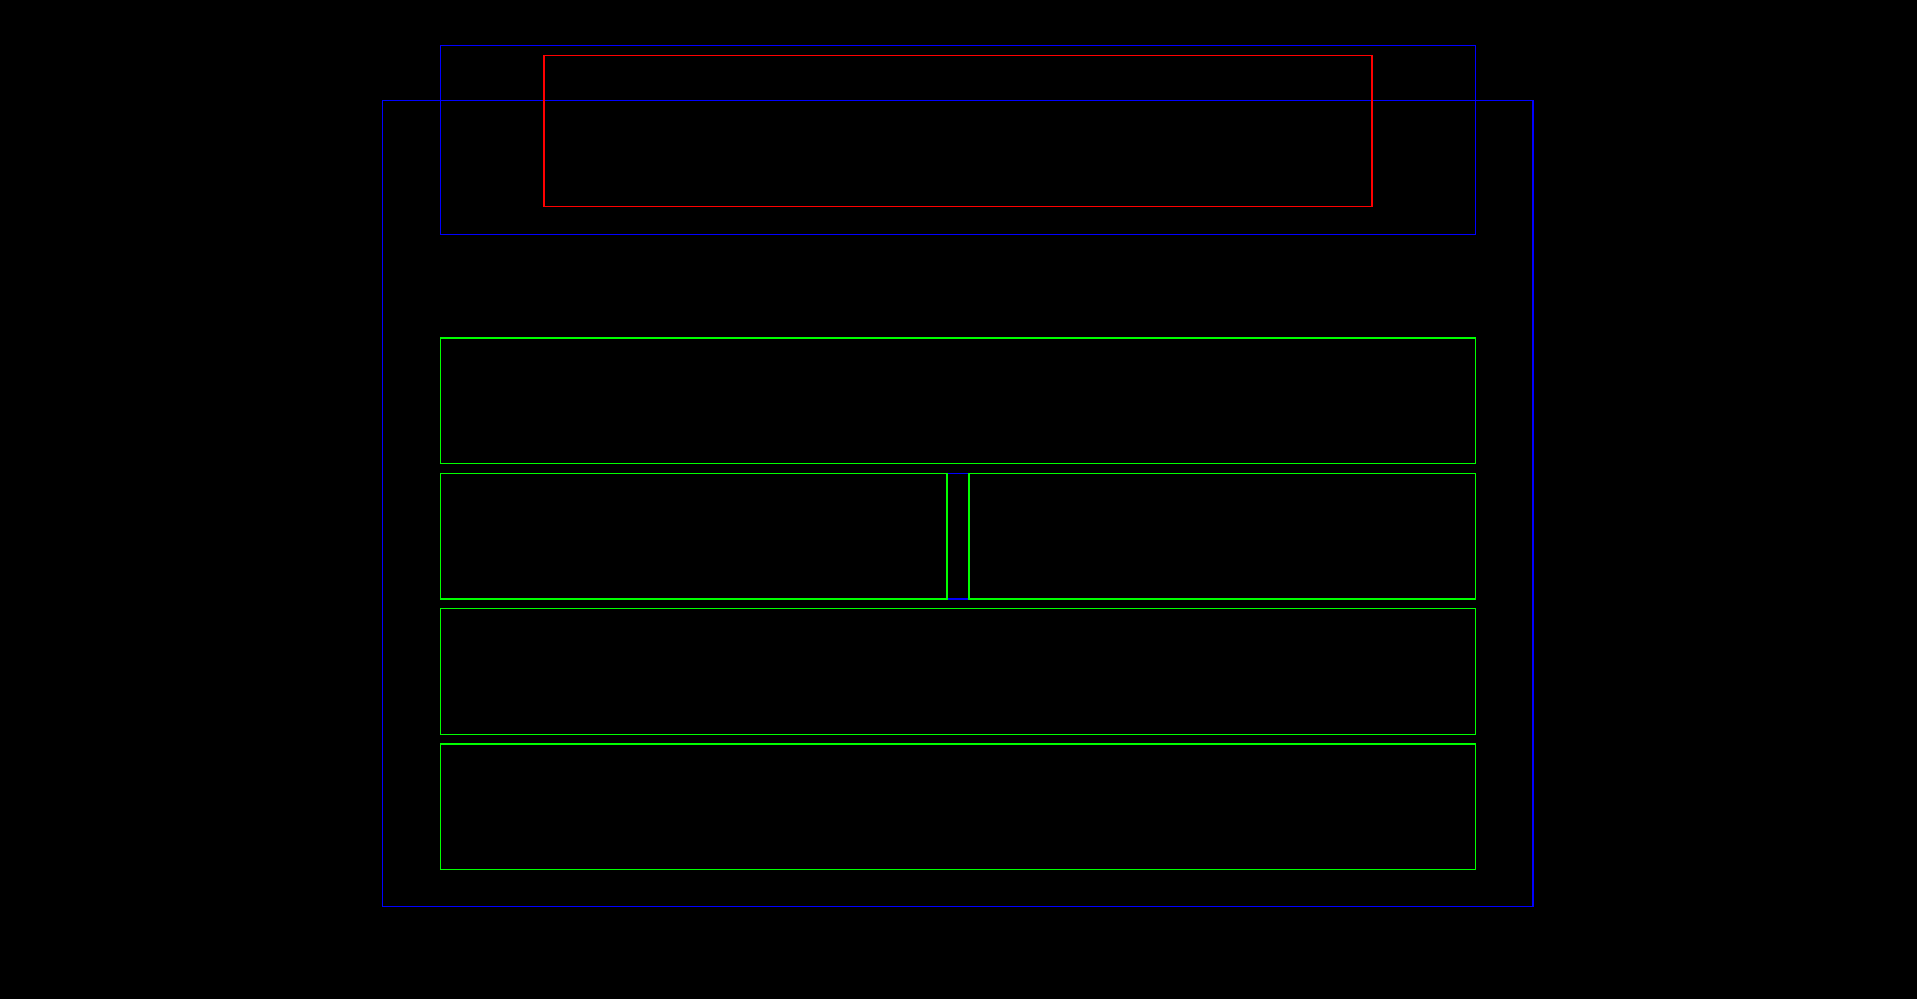
- Store 4 corner positions as the bounding box, used for rendering and hit testing
- Recurse into children
All coordinates are normalized screen space (0-1), so the layout is automatically resolution-independent.
Elements can opt out of auto layout with transformOverridden = true, which lets them be manually positioned - useful for overlays and HUD elements that need to sit at an exact spot regardless of other content.

Input and Interaction
Buttons support two input paths simultaneously: mouse and controller/keyboard navigation.
Mouse interaction is straightforward bounding box testing every frame:
bool hovered = mousePos.x >= bbox[0].x && mousePos.x <= bbox[1].x
            && mousePos.y >= bbox[0].y && mousePos.y <= bbox[3].y;
bool clicked = hovered && InputSystem::MouseReleased(LEFT);
Controller navigation uses a separate MenuNode tree, a graph of which widget is adjacent to which in each direction. Pressing a d-pad direction moves the highlight to the next node. This tree is built from the JSON alongside the widget tree but can have manual adjacency overrides for non-linear layouts.
// each frame, if controller navigation is active:
if (InputSystem::GetAction("UI_UP", playerIndex))    UISystem::MoveHighlight(UP);
if (InputSystem::GetAction("UI_DOWN", playerIndex))  UISystem::MoveHighlight(DOWN);
if (InputSystem::GetAction("UI_SELECT", playerIndex)) highlighted->Activate();
Since Forge Fiasco is a local multiplayer game, menus also track which player is controlling them, a paused player navigates their own pause menu independently of the others.
Events Instead of Callbacks
Widgets don't hold function pointers or lambdas. When a button is clicked it broadcasts a string event into the engine's event bus:
BROADCAST(std::string, "open_menu", "Settings");
BROADCAST(std::string, "play_sound", "UI Press 1");
BROADCAST(std::string, "start_game", "");
Any system listening for that event string reacts. The UI knows nothing about what happens next, and game logic knows nothing about which button triggered it. This kept the UI code clean and let the event system handle sequencing (play sound and open menu from one click, without the button knowing about either).
Menu Transitions
UISystem manages a MenuTransition queue: when a menu is told to open or close, a 150ms timer starts and opacity is interpolated from 0 -> 1 or 1 -> 0 each frame using one of the built-in easing functions.
EaseSineOut   - smooth deceleration, used for opens
EaseSineIn    - smooth acceleration, used for closes
EaseCubicInOut - snappier, used for quick transitions
Containers also support an opacityOverride that cascades down to all children, used to dim the game UI behind a pause overlay without closing it and for transitions.
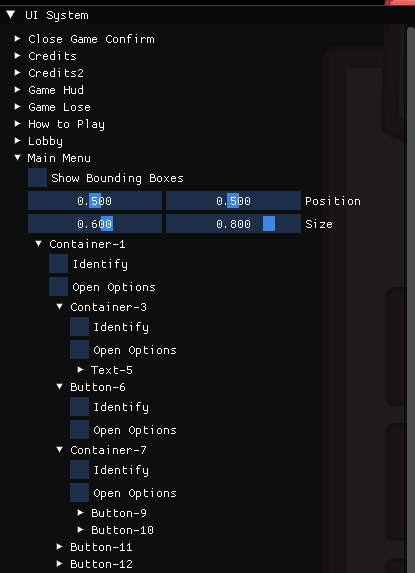
Tooling: ImGui for Live Editing
The game shipped with our debug tooling built in Dear ImGui to live-edit menus at runtime. Moving elements, changing text, adjusting padding all with changes written back to the JSON files on disk. This meant designers could iterate on layouts without restarting the engine, which meaningfully shortened the feedback loop for menu work.
ImGui was explicitly not used for the game's actual UI and was only ever a debug tool. The shipped game uses only the custom retained-mode system.
Related Project
Forge Fiasco
A co-op party game centered around managing a blacksmith